These little ghosts begin with ordinary paper cups. Make a row of smiling faces or mix in pumpkins, bats, and friendly monsters for a playful Halloween display.
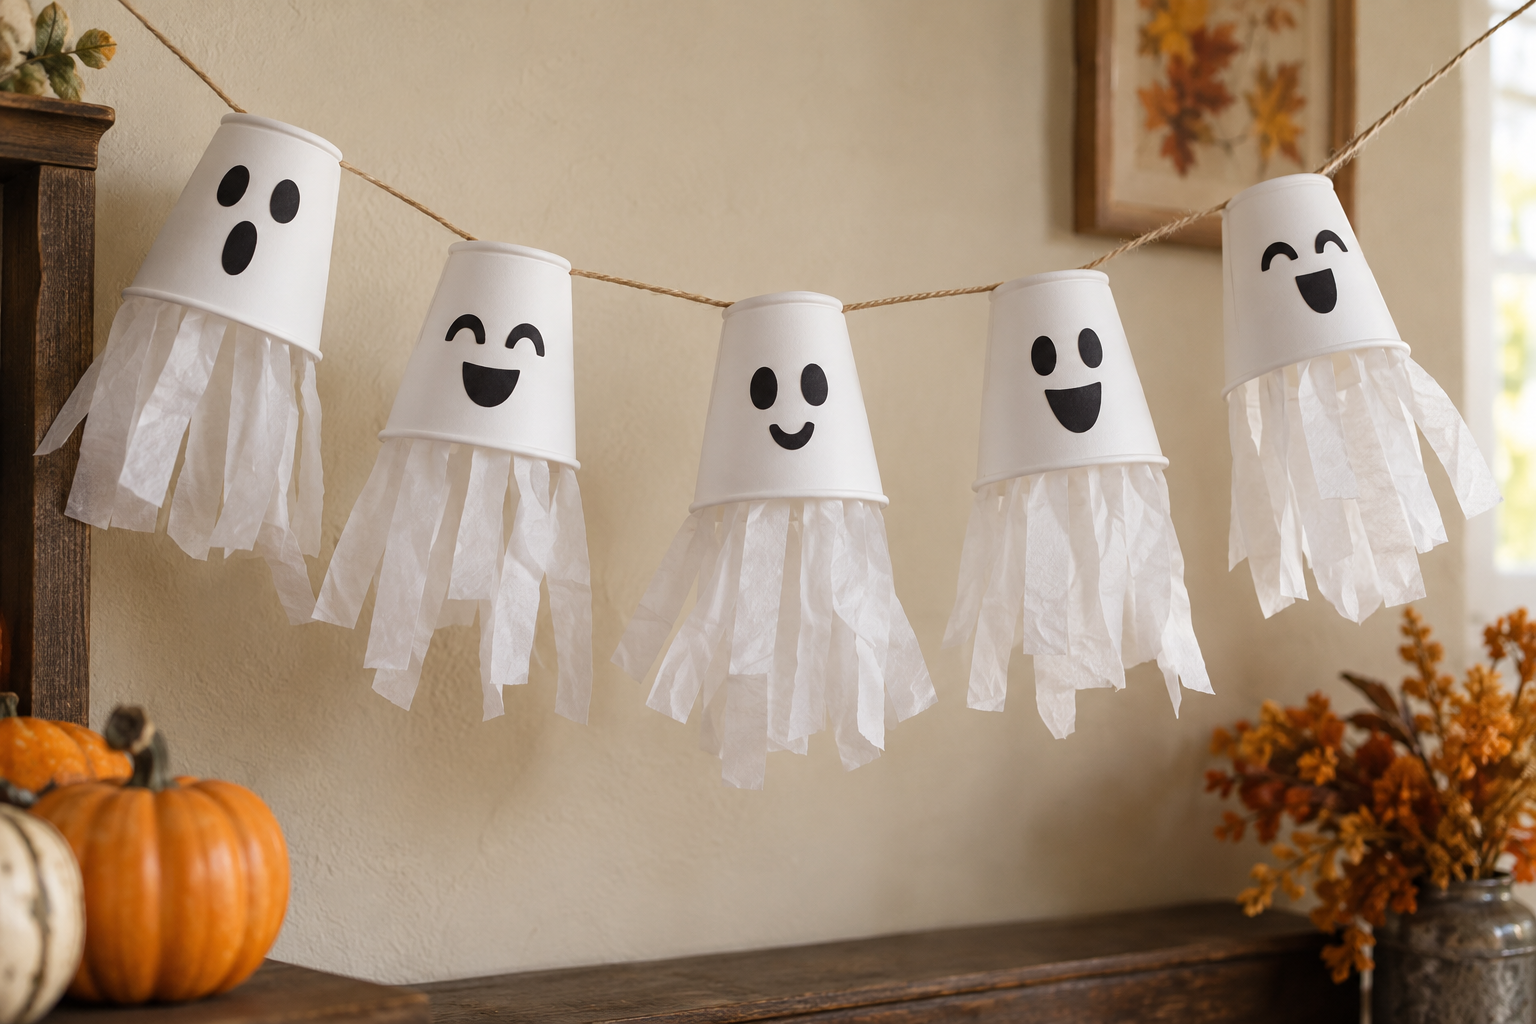
What you’ll need
- Five or more white paper cups
- White tissue paper
- Black marker or black paper and a glue stick
- Twine or sturdy string
- Hole punch, scissors, and clear tape
- Optional: orange and green paper for other characters
See the process
Follow these four visual milestones, then use the detailed steps below as you work.
How to make it
- Make the ghost tails. Cut tissue paper into strips about 6–8 inches long. Tape several strips just inside each cup’s open rim so they hang below it when the cup is upside down.
- Add faces. Draw or glue on two eyes and a mouth near the closed end of each cup. Give every ghost a different expression.
- Punch holes. With the cups upside down, punch two opposite holes near the closed top of each cup. Leave enough paper around each hole so it will not tear.
- Thread the garland. Run twine through both holes of each cup. Space the ghosts about 8–10 inches apart. Tie a small knot on each side of a cup if it slides.
- Hang it up. Attach the garland to hooks or removable wall clips. Adjust the tissue strips so each ghost hangs freely.
Change the characters
Cover a cup with orange paper for a pumpkin, add pointed black ears for a cat, or use green paper and bolts for a friendly monster. Let children design the faces while an adult handles the hole punch.
Creative twist
For a mix-and-match garland, make each cup a different character and slide a small paper moon or star between cups. Tie knots around each cup so children can rearrange the order without rebuilding the string.
Time: About 30–40 minutes. Best for: Indoor decorating. Keep long strings out of reach of very young children.