ORNIVO CREATIVE CORNER
Make a pumpkin with nothing more than paper, scissors, and a little weaving. Children can practice an over-under pattern while choosing their own jack-o’-lantern expression.
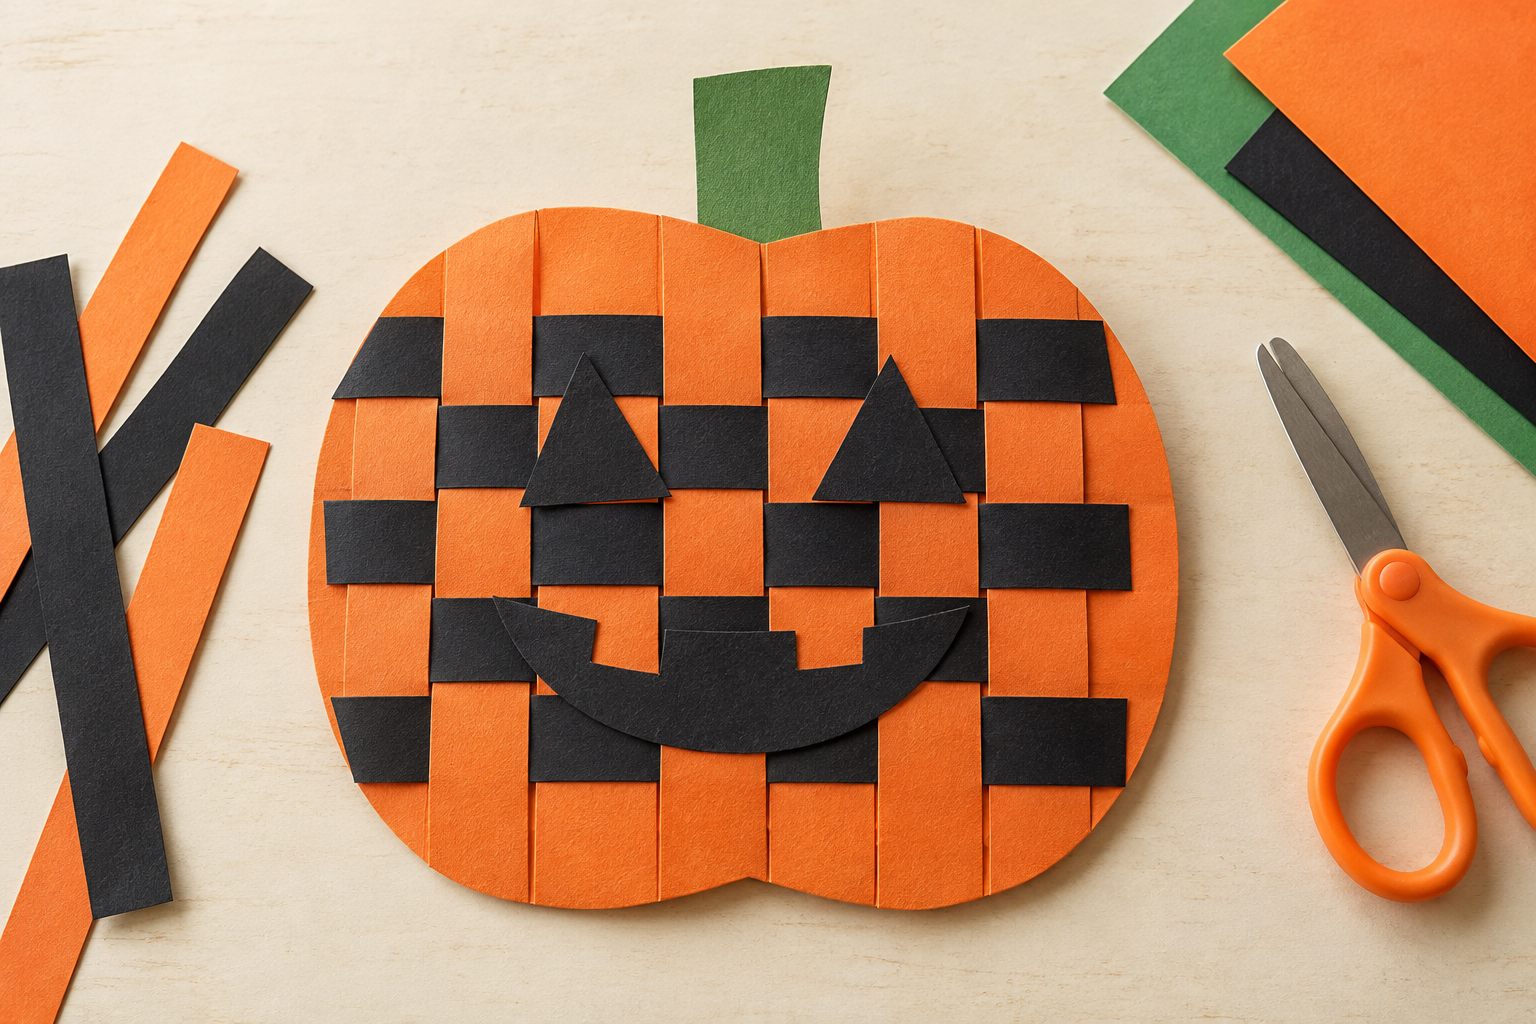
What you’ll need
- One sheet of orange cardstock
- One sheet of black construction paper
- Pencil, ruler, and child-safe scissors
- Glue stick or tape
- Optional: green paper for a stem and leaf
See the process
Follow these four visual milestones, then use the detailed steps below as you work.
How to make it
- Draw the pumpkin. Sketch a broad pumpkin shape about 7 inches wide on the orange cardstock. Cut around its outer edge. Add a small green stem later if you like.
- Make the weaving slots. Fold the pumpkin lightly in half. Starting about ¾ inch below the top, cut six or seven parallel slits toward the bottom. Stop at least ¾ inch before the lower edge. Unfold it. The uncut border keeps the pumpkin in one piece.
- Cut the strips. Cut black paper into strips about ½ inch wide and slightly longer than the pumpkin’s widest part.
- Weave across. Feed the first strip over one orange band and under the next. For the following strip, begin under the first band. Keep alternating the starting position to create a checkerboard pattern.
- Secure and decorate. Gently slide the strips close together. Trim the ends and tape or glue them to the back. Cut eyes and a mouth from leftover black paper, then glue them on the front. Add the stem and leaf.
Make it your own
Try purple or cream paper strips, make a whole family of different faces, or hang the finished pumpkins in a window. For a group activity, an adult can cut the slots ahead of time and let children do the weaving.
Creative twist
For a reversible “day to night” pumpkin, weave two rows in black and two in purple, then make a second face on the back. Clip it to a string so children can turn it around to change the expression.
Time: About 20–30 minutes. Best for: Ages 6+ with adult help for cutting.